If you are new to the Sheet Set Manager and Sheet Sets this tutorial is for you.
CAD applications supporting Sheet Sets are AutoCAD and its verticals, BricsCAD, GstarCAD and NanoCAD Plus/Pro.
This is a Guest Article by Acuity Training.
Sheet Sets are used to provide automation and synchronicity when working with a multiple of drawings. This is particularly important when each of those drawings has multiple layouts.
The Sheet Set Manager is also popular in corporate environments because of its collaborative capabilities. Knowing how to use Sheet Set Manager will save you time and make your life much easier when working on lengthy, complicated projects.
For this tutorial we’re going to look at a simple house drawing I’ve created. Between 2 files, we will use Sheet Set Manager to create different plans. These 2 files have everything we need to make several plans, including a Foundation Plan and an Electrical Plan.
If you would like to download these files to follow along please find them here.
To start we need to split our drawing into several layouts. We start by opening my drawing which is called houseonedone.dwg.
Then use the LAYER command to open up the Layer Properties layer. Turn on any Layers that are off. You can tell which layers are off because there will be a blue lightbulb instead of a yellow lightbulb next to the layer’s name. You can change the color of the lightbulbs by clicking on them.

(Figure 1)
Now that all of our Layers are on, we are ready to make our first SheetSet. Type SSM into the command line and hit ENTER. This will bring up the Sheet Set Manager Panel. Open the drop-down and select ‘New Sheet Set…”

(Figure 2)
Select ‘Existing drawings’ and then click Next.

(Figure 3)
In the next window, name your Sheet Set as “Sheet Set Tutorial” and once again hit Next.
Now the next screen is important. Click “Browse…”. A Windows Explorer applet will open. Use it to navigate your way to the “untouched” folder that was part of the Tutorial download. After selected, click Next, and Finish.
You’ll notice that the Sheet Set we have made is not visible in the Sheet Set Manger Panel. That’s because we have to open it. So once again open the drop-down, and this time click “Open…”

(Figure 4)
Now open the dst file we made (Sheet Set Tutorial.dst).
This is what should be visible now in your Sheet Set Manger Panel:

(Figure 5)
You’ll note that you can double-click any of the layouts to open it up.
Now that we have our Sheet Set, let’s go to the Layout 1 tab. It looks messy, right? We’re going to clean it up, and then make Layout 1 into our Electric Plan. If you wish to rename it to Electric Plan, you can.

(Figure 6)
What we want to do is get rid of all the layers except for Walls, Doors, and Electrics, but we want to do this only on THIS layout.
It’s pretty simple. Double-click the border of the viewport to open it. Then follow these steps.
1. Type LAYFRZ, hit ENTER.
2. Type S, hit ENTER.
3. Type V, hit ENTER.
4. Type V, hit ENTER.
Now you can select whatever layers you want to hide in this viewport. Be sure to get rid of the roof, room names, and anything else that doesn’t belong on an Electrical Plan. Obviously keep switches, outlets, walls, windows, and doors.
This is how mine ended up. When you’re ready to leave the Viewport, double-click the blue border circled in red in Figure 7.

(Figure 7)
If you open the Sheet Set Manger Panel again (the command is SSM), you will see that Layout 1 is still named ‘houseonedone - Layout1’ and not ‘Electric Plan’. This is because we made the Sheet Set before renaming the Layout. There’s a simple fix. Right-click it and click on ‘Rename and Renumber…’

(Figure 8)
Now this is a pretty important Panel, there’s a lot we can do here. Besides Renaming, we can also Renumber the sheet. For the purpose of this Tutorial, leave it at 3. After you’ve made your changes, click OK to leave the window.
Sheet Set Manager allows you to make subsets of your Sheet Set. We are going to make 2: one will be named ‘Models’ and the other ‘Layouts’. To do this, right-click the Sheet Set name and then click “New Subset…”

(Figure 9)
Do this twice, naming one subset ‘Layouts’ and the other one ‘Models’. After that, drag the Electric Plan onto Layouts.

(Figure 10)
There is another layout in the houseonedone file named Layout 2. We can make it into a floor plan, getting rid of Layers using the method previously discussed in this tutorial.
The ceiling fans and white lines are on the same layer as the text, and while we want to get rid of them, we want to keep the text. So move them to a different layer. Selecting all ceiling fans at once is pretty simple. You click on one, right-click, and then choose “Select Similar…” Then, move them to a new layer, or one of the electric ones.
Note: If you like, you can get rid of the grid by pressing Ctrl-G.

(Figure 11)
After Leaving the Viewport, and opening the Sheet Set Manger Panel, you will notice that the Floor Plan Layout isn’t shown. Drag in onto the Layouts subset. You may have to rename and renumber it to your liking.
Now double click on ‘finalversionoffoundation - Arch D (2)’ to open that layout. This is our Foundation Plan. Do all the renaming and renumbering necessary, and then drag it onto the Layouts subset.
After that, you can delete the other foundation Layout from SSM, titled ‘finalversionoffoundation - Arch D”. To delete sheets, you can’t just click them and press the delete key. You have to click, right-click, and choose “Remove Sheet”.
Once all of that is done Sheet Set Manger Panel should look like this:

(Figure 12)
Without getting too much into fields and title blocks, which is an entire tutorial in and of itself, we can have the pages numbered very easily and they will also update automatically based on any changes. We can also have automatic naming.
Click on your Foundation Plan Layout in the Sheet Set Manger Panel. It has a Title Block, but for the purpose of our tutorial, we will ignore this.
Type MTEXT, hit enter, click on an empty space above the viewport, type ‘Sheet Number:’ and then click the Fields icon in the Text Editor Tab of the Ribbon.

(Figure 13)
Pick the options circled in Figure 14.

(Figure 14)
After clicking OK, a 1 in a gray box will show up next to what we typed. Hit ENTER, and click the Fields icon again. Use Figure 15 this time to make your selections.

(Figure 15)
You may need to play around with the text to make it look right. However, after setting up the fields, if there are any number or name changes, all you have to do is type REGEN and hit Enter and it will automatically update.

(Figure 16)
You can get as fancy as you want with fields and Title Blocks. The options are limitless.
This was a very brief introduction to the use of Sheet Set Manager. Hopefully by using what you learned here you will be able to get started with the basics.
One final tip for working with Sheet Sets. Hovering over a Sheet in the Sheet Set Manager Panel will show all sorts of great information about the sheet, including live updates of who is working on it at that moment.
Hope you enjoyed the tutorial. See also the AutoCAD course for Architects with some free chapters.
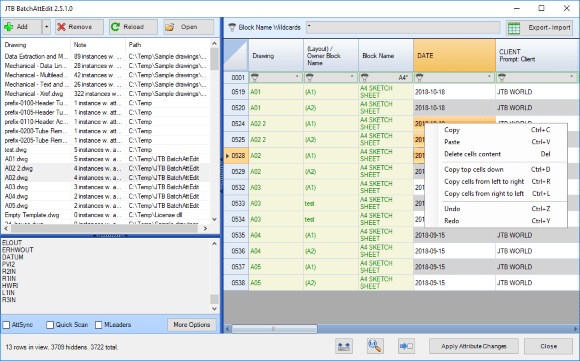
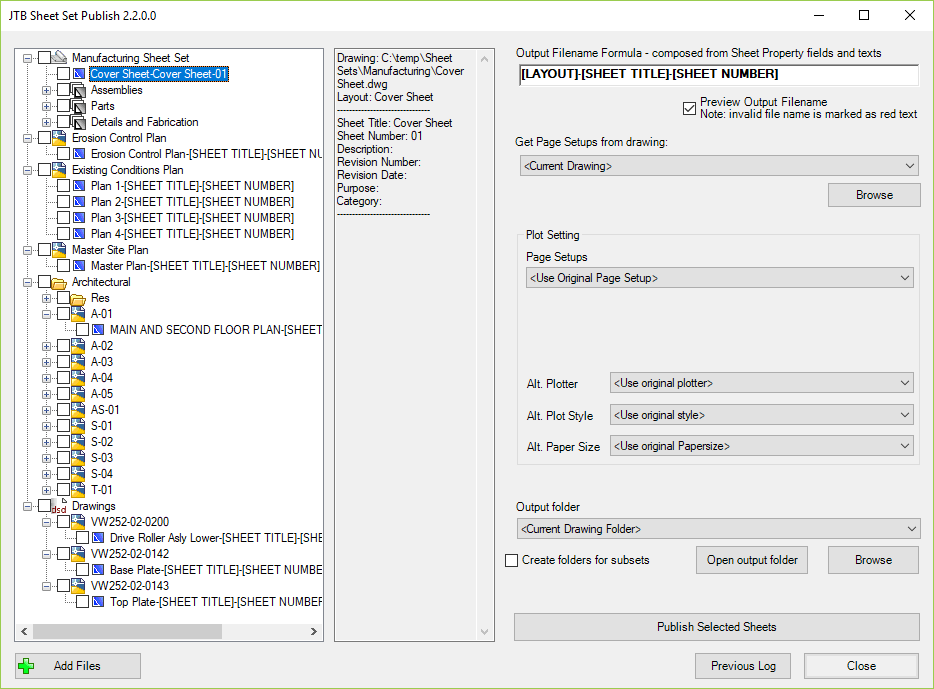
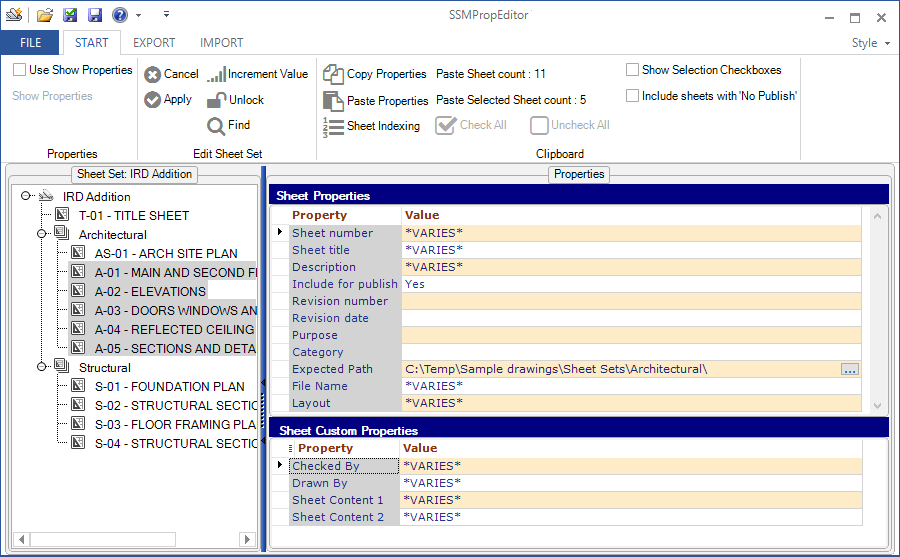
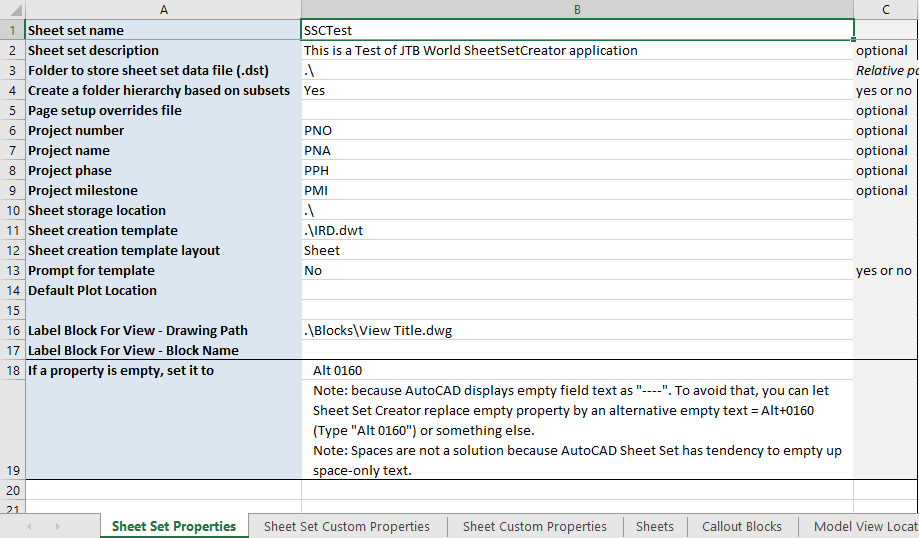
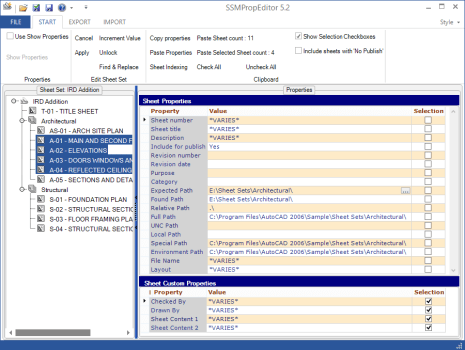
JTB World also has several apps that further helps working with Sheet Sets.
